Fee Reports
Fee Management > Fee Reports
This screen lets you download detailed information on Fees.

-
Name: Change the report name, if needed.
-
Output: Select the output format. PDF is the default.
-
Template: Select a report template, if needed. This field appears when at least one report template has been created.
-
Reset: Click this button to reset all the parameters.

-
Buildings: Filter by fee building.
-
Assigned To: Filter by student or staff first name, last name, or ID number.
Person's Building (not pictured): Filter by enrolled or assigned building.
Account Email (not pictured): Filter by LINQ Connect account email.
-
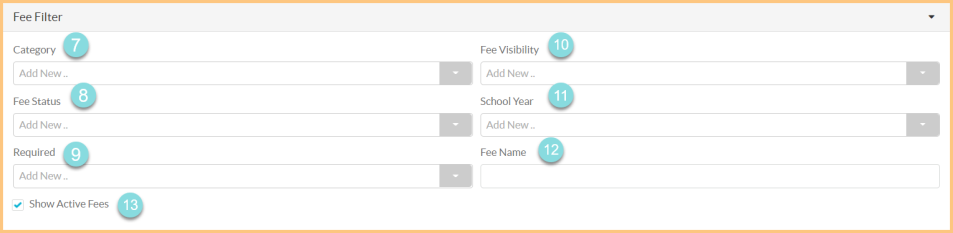
Category: Filter by fee category.
-
Fee Status: Filter by fee status.
-
Required: Filter by fees that are required to purchase.
-
Fee Visibility: Filter by fee visibility.
-
School year: Filter by school year.
-
Fee Name: Filter by fee name.
-
Show Active Items: Check to include active fees in the results.

-
Bank Account: Filter by bank account.
-
Payment Type: Filter by payment type.
-
Chart Of Account: Filter by fee Chart of Accounts.
-
Payment Method: Filter by payment method.
Transaction Number (not pictured): Filter by transaction number.
Merchant Identifier (not pictured: Filter by merchant identifier.

-
Transaction Date Range: Filter by transaction date.
Post Date Range (not pictured): Filter by payment processing posting date.
-
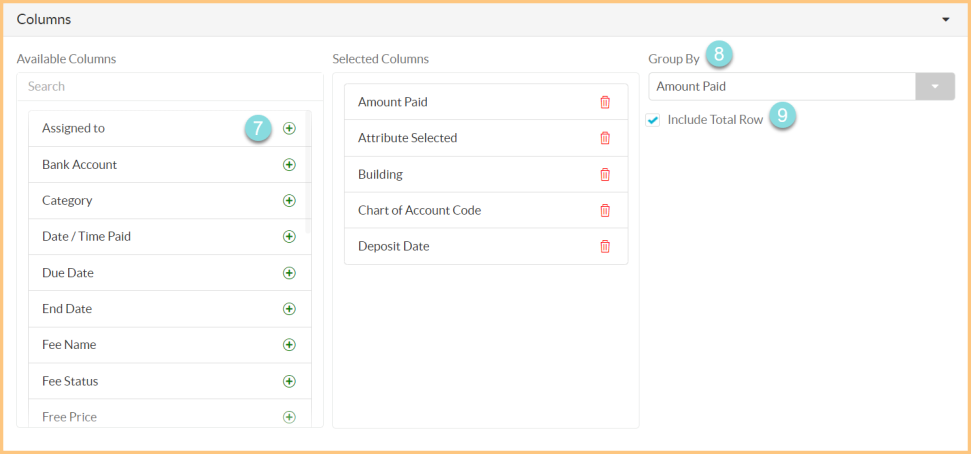
Columns: Click the Plus icon to move Available Columns to the Selected Columns section. Drag and drop to arrange the columns in the Selected Columns section in the desired order to appear on the report. Click the Trash icon to remove a column.
-
Group By: Choose one of the available column types to insert page breaks at changes in value of that data point.
-
Include Total Row: Check to include a Total row at the bottom of the report.
-
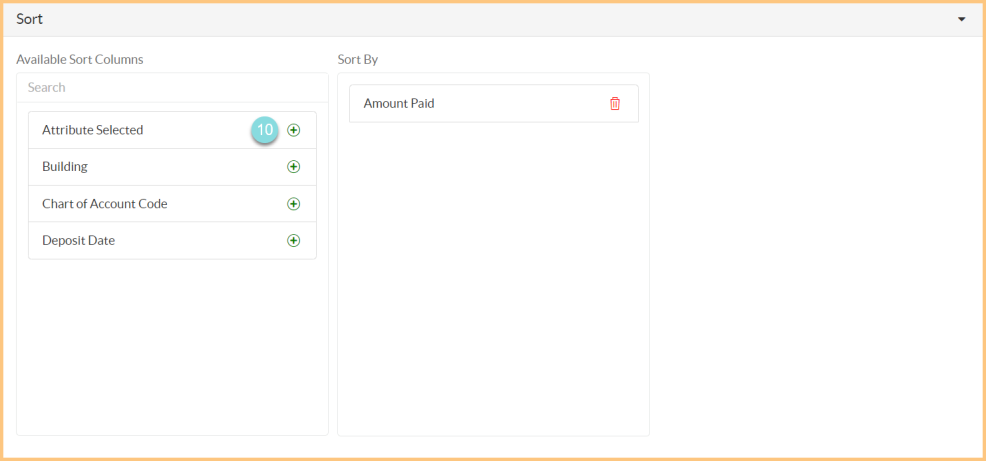
Sort: Click the Plus icon to move Available Sort Columns to the Sort By section. Drag and drop to arrange the columns in the Sort By section in the desired order to appear on the report. Click the Trash icon to remove a column.

-
Paper Format: Select a paper format. Letter is the default.
-
Orientation: Select an orientation. Portrait is the default.
-
Include Header: Check to include a report header.
-
Include Footer: Check to include a report footer.
-
Include Filter: Check to include the selected filters.
-
Save & Request:
-
Save as Template: Click to save the selected filters as a template. Enter a Name for the template, check the Public box for the template to be accessible by other users in the district, and select the Security Roles that will be able to access the template.
-
Update Template: Click to save changes to the template.
-
Reset: Click to reset to the report defaults.
-
Request Report: Click to request the report. The report will show in the bell icon when complete.
-